
Preparing for Your 7 Day Decluttering Journey
Whoa didn’t realize you could do this in just 7 days
Before you begin, gather the necessary supplies: trash bags, boxes for donations, and cleaning supplies. Set realistic goals for each day and prioritize areas that need the most attention. Communicate your plan with family members or roommates to ensure everyone is on board and can contribute to the effort. Remember, the key is consistency and commitment to spending one hour each day on decluttering.
Day 1: Tackling the Entryway and Living Room
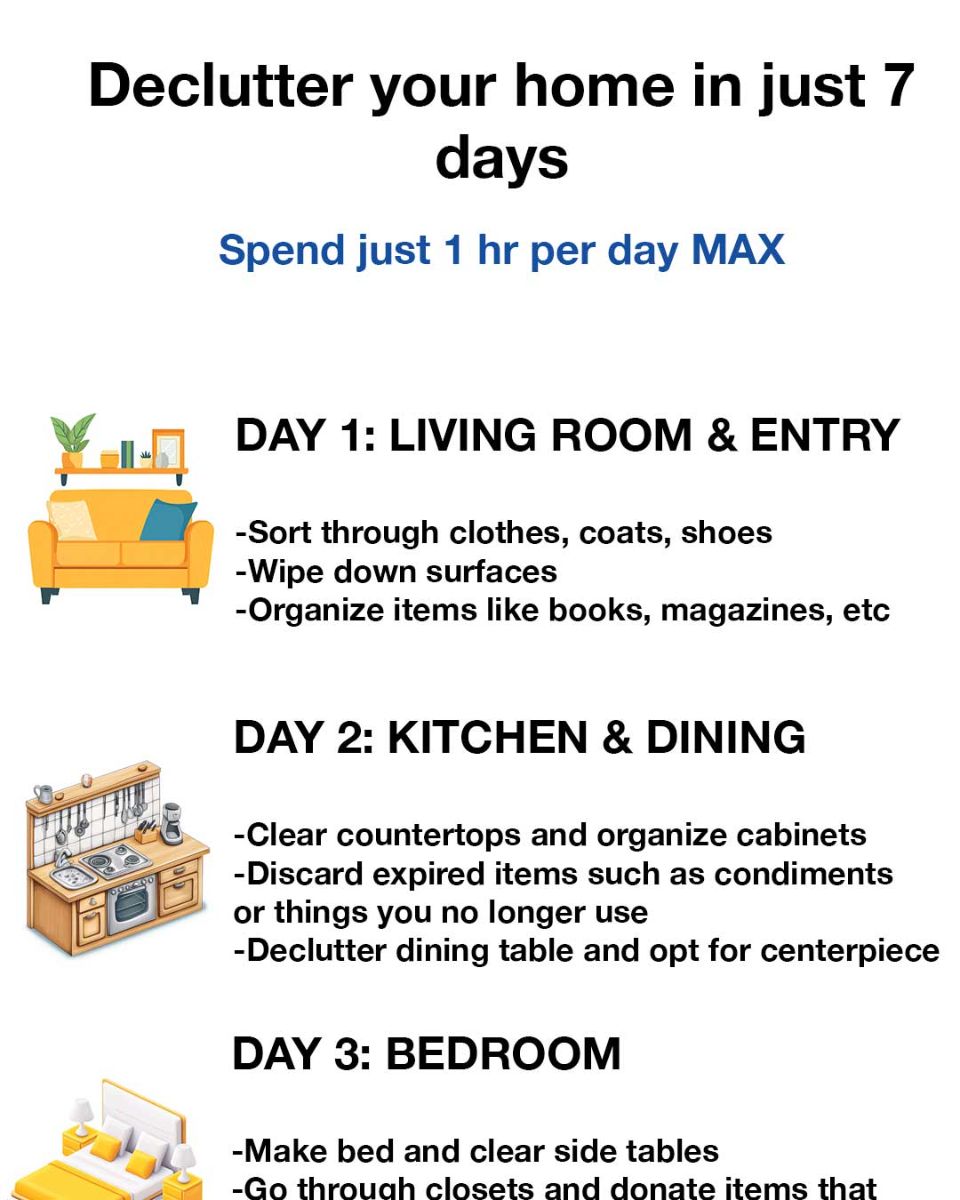
Start your decluttering journey with the entryway and living room, as these are the first areas you and your guests see. Spend your hour sorting through shoes, coats, and bags in the entryway. In the living room, clear surfaces like coffee tables and shelves, and organize items such as books, magazines, and remote controls. Consider removing excess furniture or decor that makes the space feel cramped.
Day 2: Simplifying the Kitchen and Dining Area
Focus on the kitchen and dining area, where clutter can quickly accumulate. Begin by clearing countertops and organizing cabinets. Discard expired food and donate kitchen gadgets you no longer use. In the dining area, remove unnecessary items from the table and consider a centerpiece that adds charm without clutter. Use storage solutions like baskets or bins to keep items organized.
Day 3: Organizing Bedrooms for a Peaceful Retreat
Turn your attention to the bedrooms, creating a tranquil space for rest. Start by making the bed and clearing bedside tables. Go through closets and drawers, setting aside clothes you no longer wear for donation. Organize remaining items by category and use storage solutions like under-bed boxes to maximize space. Ensure that surfaces are clear to promote a calm atmosphere.
Day 4: Streamlining Bathrooms for Efficiency
Bathrooms can quickly become cluttered with toiletries and cleaning supplies. Spend your hour sorting through these items, discarding expired products and consolidating duplicates. Organize remaining items in cabinets or on shelves, using baskets or containers to keep similar items together. Ensure that countertops are clear, leaving only essential items for daily use.
Day 5: Clearing Out the Home Office or Study Area
A clutter-free home office or study area can boost productivity and focus. Begin by sorting through paperwork, shredding or filing documents as needed. Clear your desk of unnecessary items, keeping only essentials like your computer and a notepad. Organize office supplies in drawers or containers, and consider adding a few personal touches to make the space inviting.
Day 6: Decluttering Storage Spaces and Closets
Storage spaces and closets often become catch-alls for miscellaneous items. Spend your hour going through these areas, sorting items into keep, donate, and discard piles. Use storage bins or shelves to organize remaining items, and label containers for easy identification. Aim to keep these spaces functional and accessible, avoiding the temptation to overfill them.
Day 7: Final Touches and Maintaining a Clutter-Free Home
On the final day, focus on adding finishing touches and creating a plan for maintaining your newly organized home. Walk through each room, making any necessary adjustments. Consider implementing a regular cleaning schedule and encourage family members to follow organizational systems. Celebrate your accomplishment and enjoy the benefits of a clutter-free home.
Conclusion: Reflecting on Your Decluttering Success
Congratulations on completing your 7-day decluttering journey! Reflect on the positive changes in your home and how they have impacted your daily life. By dedicating just one hour a day, you’ve created a more organized, peaceful environment. Remember that maintaining a clutter-free home is an ongoing process, and with the habits you’ve developed, it’s a goal that’s well within reach.
