Step-by-Step Instructions
Step 1: Activate the Yeast
- In a large mixing bowl, combine the warm water , sugar , and yeast . Stir gently to dissolve the yeast and sugar.
- Let the mixture sit for 5–10 minutes until it becomes frothy and bubbly. This indicates the yeast is active and ready to go.
Pro Tip: If the yeast doesn’t foam, it may have expired. Start again with fresh yeast.
Step 2: Mix Dry Ingredients
- In another bowl, whisk together the all-purpose flour and salt until evenly combined.
- Set aside while you prepare the wet ingredients.
Step 3: Combine Wet and Dry Ingredients
- Gradually add the flour mixture to the activated yeast mixture, stirring with a wooden spoon or spatula until a shaggy dough forms.
- Knead the dough by hand on a lightly floured surface for 8–10 minutes , or use a stand mixer with a dough hook for 4–6 minutes . The dough should become smooth, elastic, and slightly tacky but not sticky.
Secret Tip: For extra fluffiness, let the dough rest for 10 minutes after initial mixing before kneading. This allows the gluten to relax, making the dough easier to handle and resulting in a softer final product.
Step 4: First Rise
- Shape the dough into a ball and place it in a lightly oiled bowl, turning it once to coat the surface.
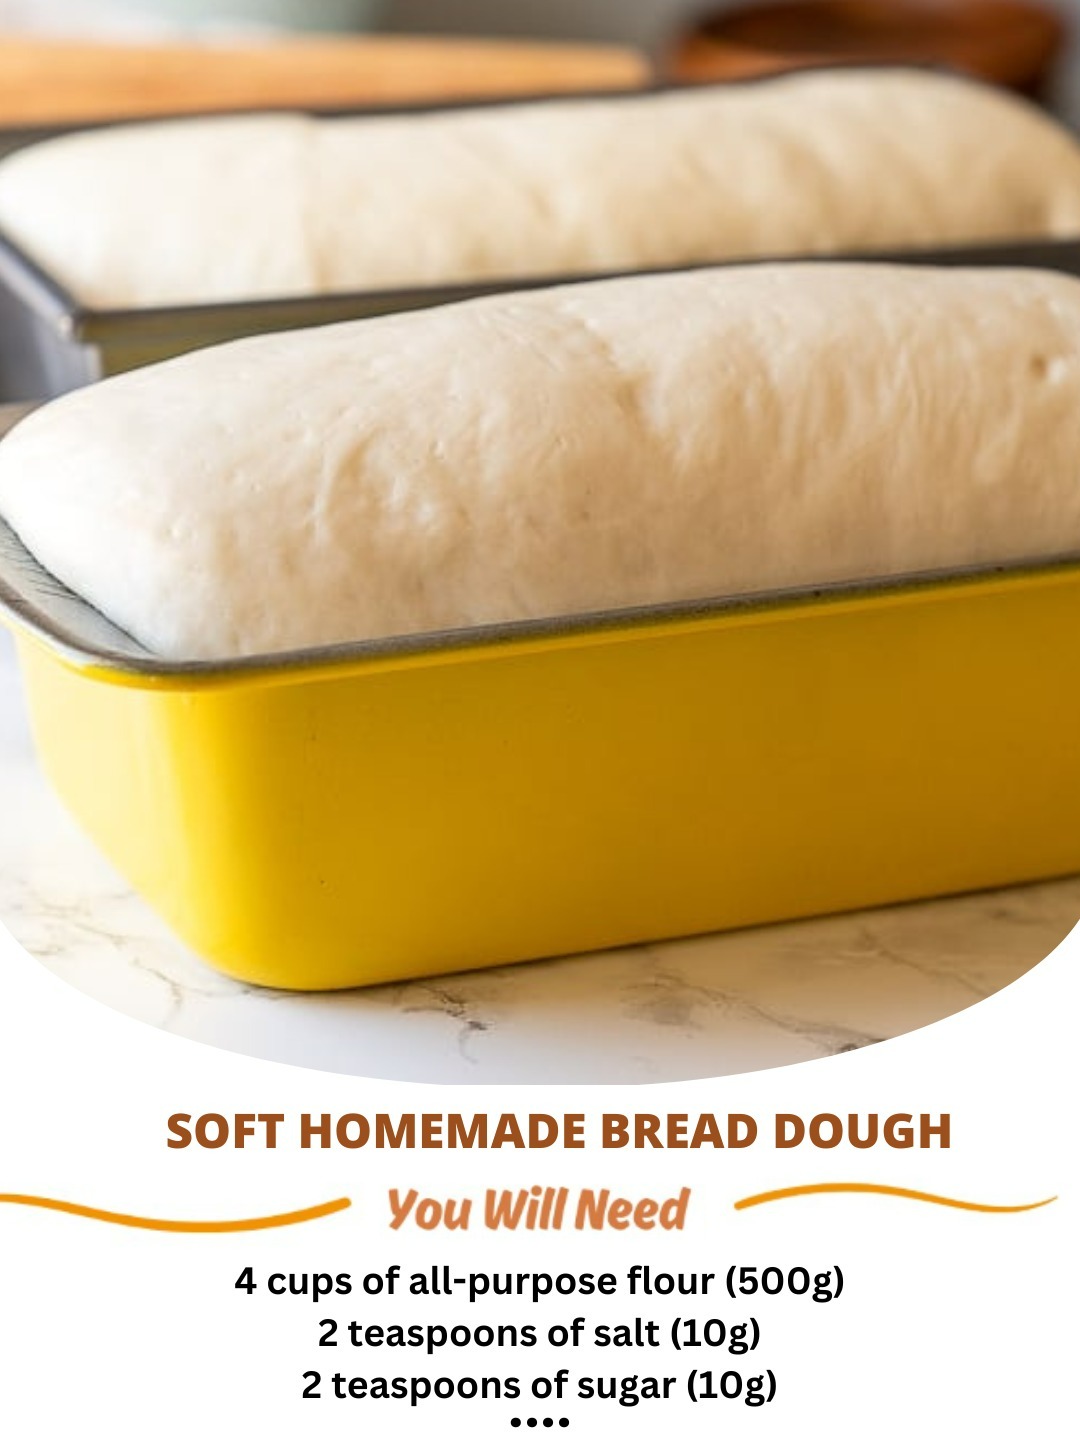
- Cover the bowl with a damp towel or plastic wrap and let it rise in a warm, draft-free area for 1–2 hours , or until doubled in size.
Step 5: Punch Down and Shape
-
- Once the dough has risen, punch it down gently to release trapped air bubbles.
- Divide the dough into portions depending on your desired shapes—loaves, rolls, braids, or even pizza crusts!
- Shape the dough as desired and transfer it to a greased baking pan or sheet.
Step 6: Second Rise
- Cover the shaped dough with a clean towel and let it rise again for 30–45 minutes , or until puffed but still firm to the touch.
Step 7: Bake Until Golden
- Preheat your oven to 375°F (190°C) .
- Brush the tops of the dough with beaten egg or milk for shine (optional).
- Bake for 20–25 minutes (for rolls) or 35–40 minutes (for loaves), or until golden brown and hollow-sounding when tapped.
Step 8: Cool and Enjoy!
Let the bread cool completely on a wire rack before slicing. Store leftovers in an airtight container or bread bag for up to 3–4 days at room temperature.
Tips for Success
- Use Warm Water : Ensure the water is warm but not hot (about 98°F or 37°C). Hot water can kill the yeast, while cold water slows activation.
- Don’t Overknead : Kneading too much can make the dough tough. Stop once it feels smooth and elastic.
- Let It Rest Twice : Both rises are crucial for achieving maximum fluffiness and tenderness.
- Oil the Bowl : Lightly oiling the bowl during rising prevents sticking and keeps the dough moist.
Variations and Customizations
While the classic version is perfect for plain bread, feel free to switch things up with these ideas:
- Herb Bread : Add chopped fresh rosemary, thyme, or garlic powder for savory notes.
- Cheese Pull-Apart Rolls : Fold grated cheddar, Parmesan, or mozzarella into the dough before shaping.
- Sweet Variation : Substitute half the salt with sugar and add vanilla extract or cinnamon for dessert-style bread.
- Whole Wheat Option : Replace up to half the all-purpose flour with whole wheat flour for added fiber.
The Secret Behind Fluffy Bread
The key to this dough’s cloud-like texture? Proper hydration and resting time. Allowing the dough to rest briefly after combining the ingredients gives the gluten time to relax, making it smoother and easier to knead. Additionally, ensuring the dough rises fully twice creates air pockets that result in a light, airy crumb.
Serving Suggestions
This Soft Homemade Bread Dough pairs wonderfully with a variety of meals and snacks:
- Serve warm with butter, honey, or jam for breakfast or brunch.
- Use it as sandwich bread for burgers, subs, or deli meats.
- Cut into small pieces and serve alongside soups, stews, or chili.
- Freeze portions for later use—simply thaw and reheat when needed.
FAQs About Soft Homemade Bread Dough
Q: Can I use instant yeast instead of active dry yeast?
A: Yes! Instant yeast can be mixed directly with the dry ingredients without needing to proof in water. Reduce the amount slightly (about 1 teaspoon less) since instant yeast is more potent.
Q: How do I know if the dough is ready to bake?
A: After the second rise, gently press the dough with your finger. If the indentation remains but slowly springs back, it’s ready to bake.
Q: Can I freeze the dough?
A: Absolutely! Shape the dough as desired, place it in a freezer-safe bag, and freeze for up to 3 months . Thaw overnight in the refrigerator before letting it come to room temperature and baking.
Health Benefits of This Bread
While indulgent, there are ways to make this bread slightly healthier without sacrificing taste:
-
- Whole Grain Flour : Replace part of the all-purpose flour with whole wheat flour for added fiber.
- Portion Control : Enjoy smaller slices or rolls to savor the flavors while keeping portions reasonable.
- Nutty Boost : Fold in chopped nuts like walnuts or almonds for healthy fats and crunch.
Conclusion
This Soft Homemade Bread Dough proves that great bread doesn’t have to be complicated. By following our detailed recipe and expert tips, you’ll be able to create fluffy, cloud-like bread that rivals anything from a bakery.
So gather your ingredients, fire up the oven, and enjoy the satisfaction of serving something truly special. Happy baking—and happy eating! 🍞✨

