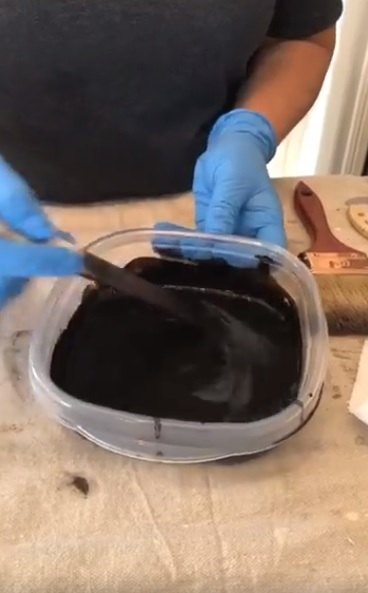
Mix 1 part stain to 1 part top coat (in a 1:1 ratio). I like to mix well in these disposable plastic containers with lids, because the mixture stays a long time if you keep it sealed tightly.

I also like to add some paint extender which will delay the drying time of your stain, giving you more time to play with the stain once it goes on, to get the color you want. Add a squirt of extender directly into the stain/topcoat mixture, and mix well.

Before you start staining, you’ll want to lightly sand down the surface of your cabinets, just to rough up the edges a bit so that the stain really gets into the wood. You don’t need to do any heavy duty sanding. I used an 80 grit paper with a medium grit sanding block. When that was nicely sanded, I went over it with a 220 sandpaper as well. When the sanding is done, wipe down well with a cheese cloth to get rid of any residue.

I also use denatured alcohol and water (another 1:1 mixture) and cleaned off the cabinets well. This mixture is a great de-greaser, and will remove cooking oil from kitchen cabinets as well as hair products from bathroom cabinets too. Wipe down your cabinets well with this mixture, and when dry, you’re ready to tone!

Apply the stain mixture with a sponge brush, brushing on like you would paint.

Cover the whole cabinet with stain. Keep going, you got this!

For the next step, you’ll need a natural bristle brush with lots of “poof”.

Lightly brush with your natural bristle brush, feathering out the stain while darkening the natural color of the cabinet. Keep brushing the stain until the stain is evenly coated across the cabinets.

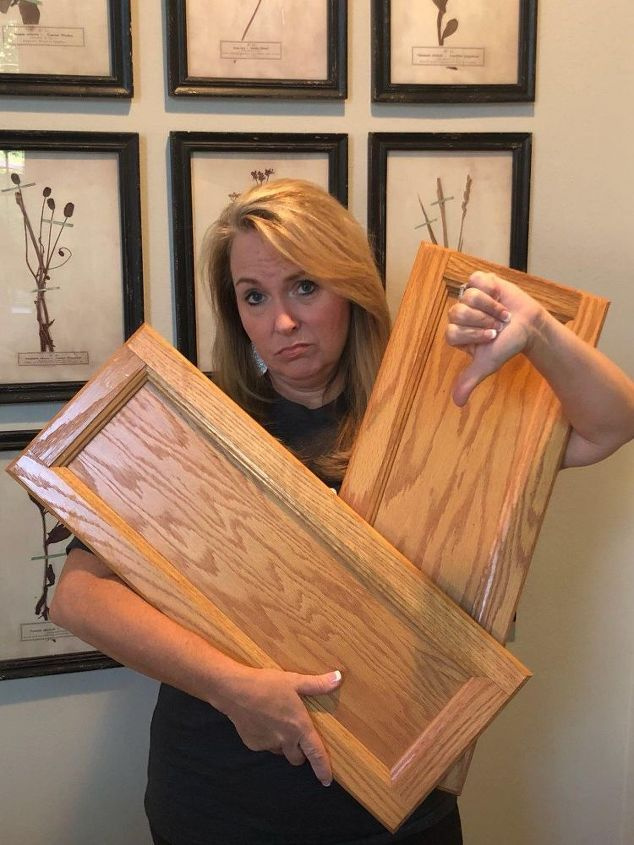
Check out this awesome Before and After! What a difference a little bit of stain can make!

Here’s one of the larger cabinet doors post-face lift. I love it so much!
Bonus idea! Toning isn’t limited to only cabinets! You can use toning on stairs, oak furniture, mantels, just about anything oak!

