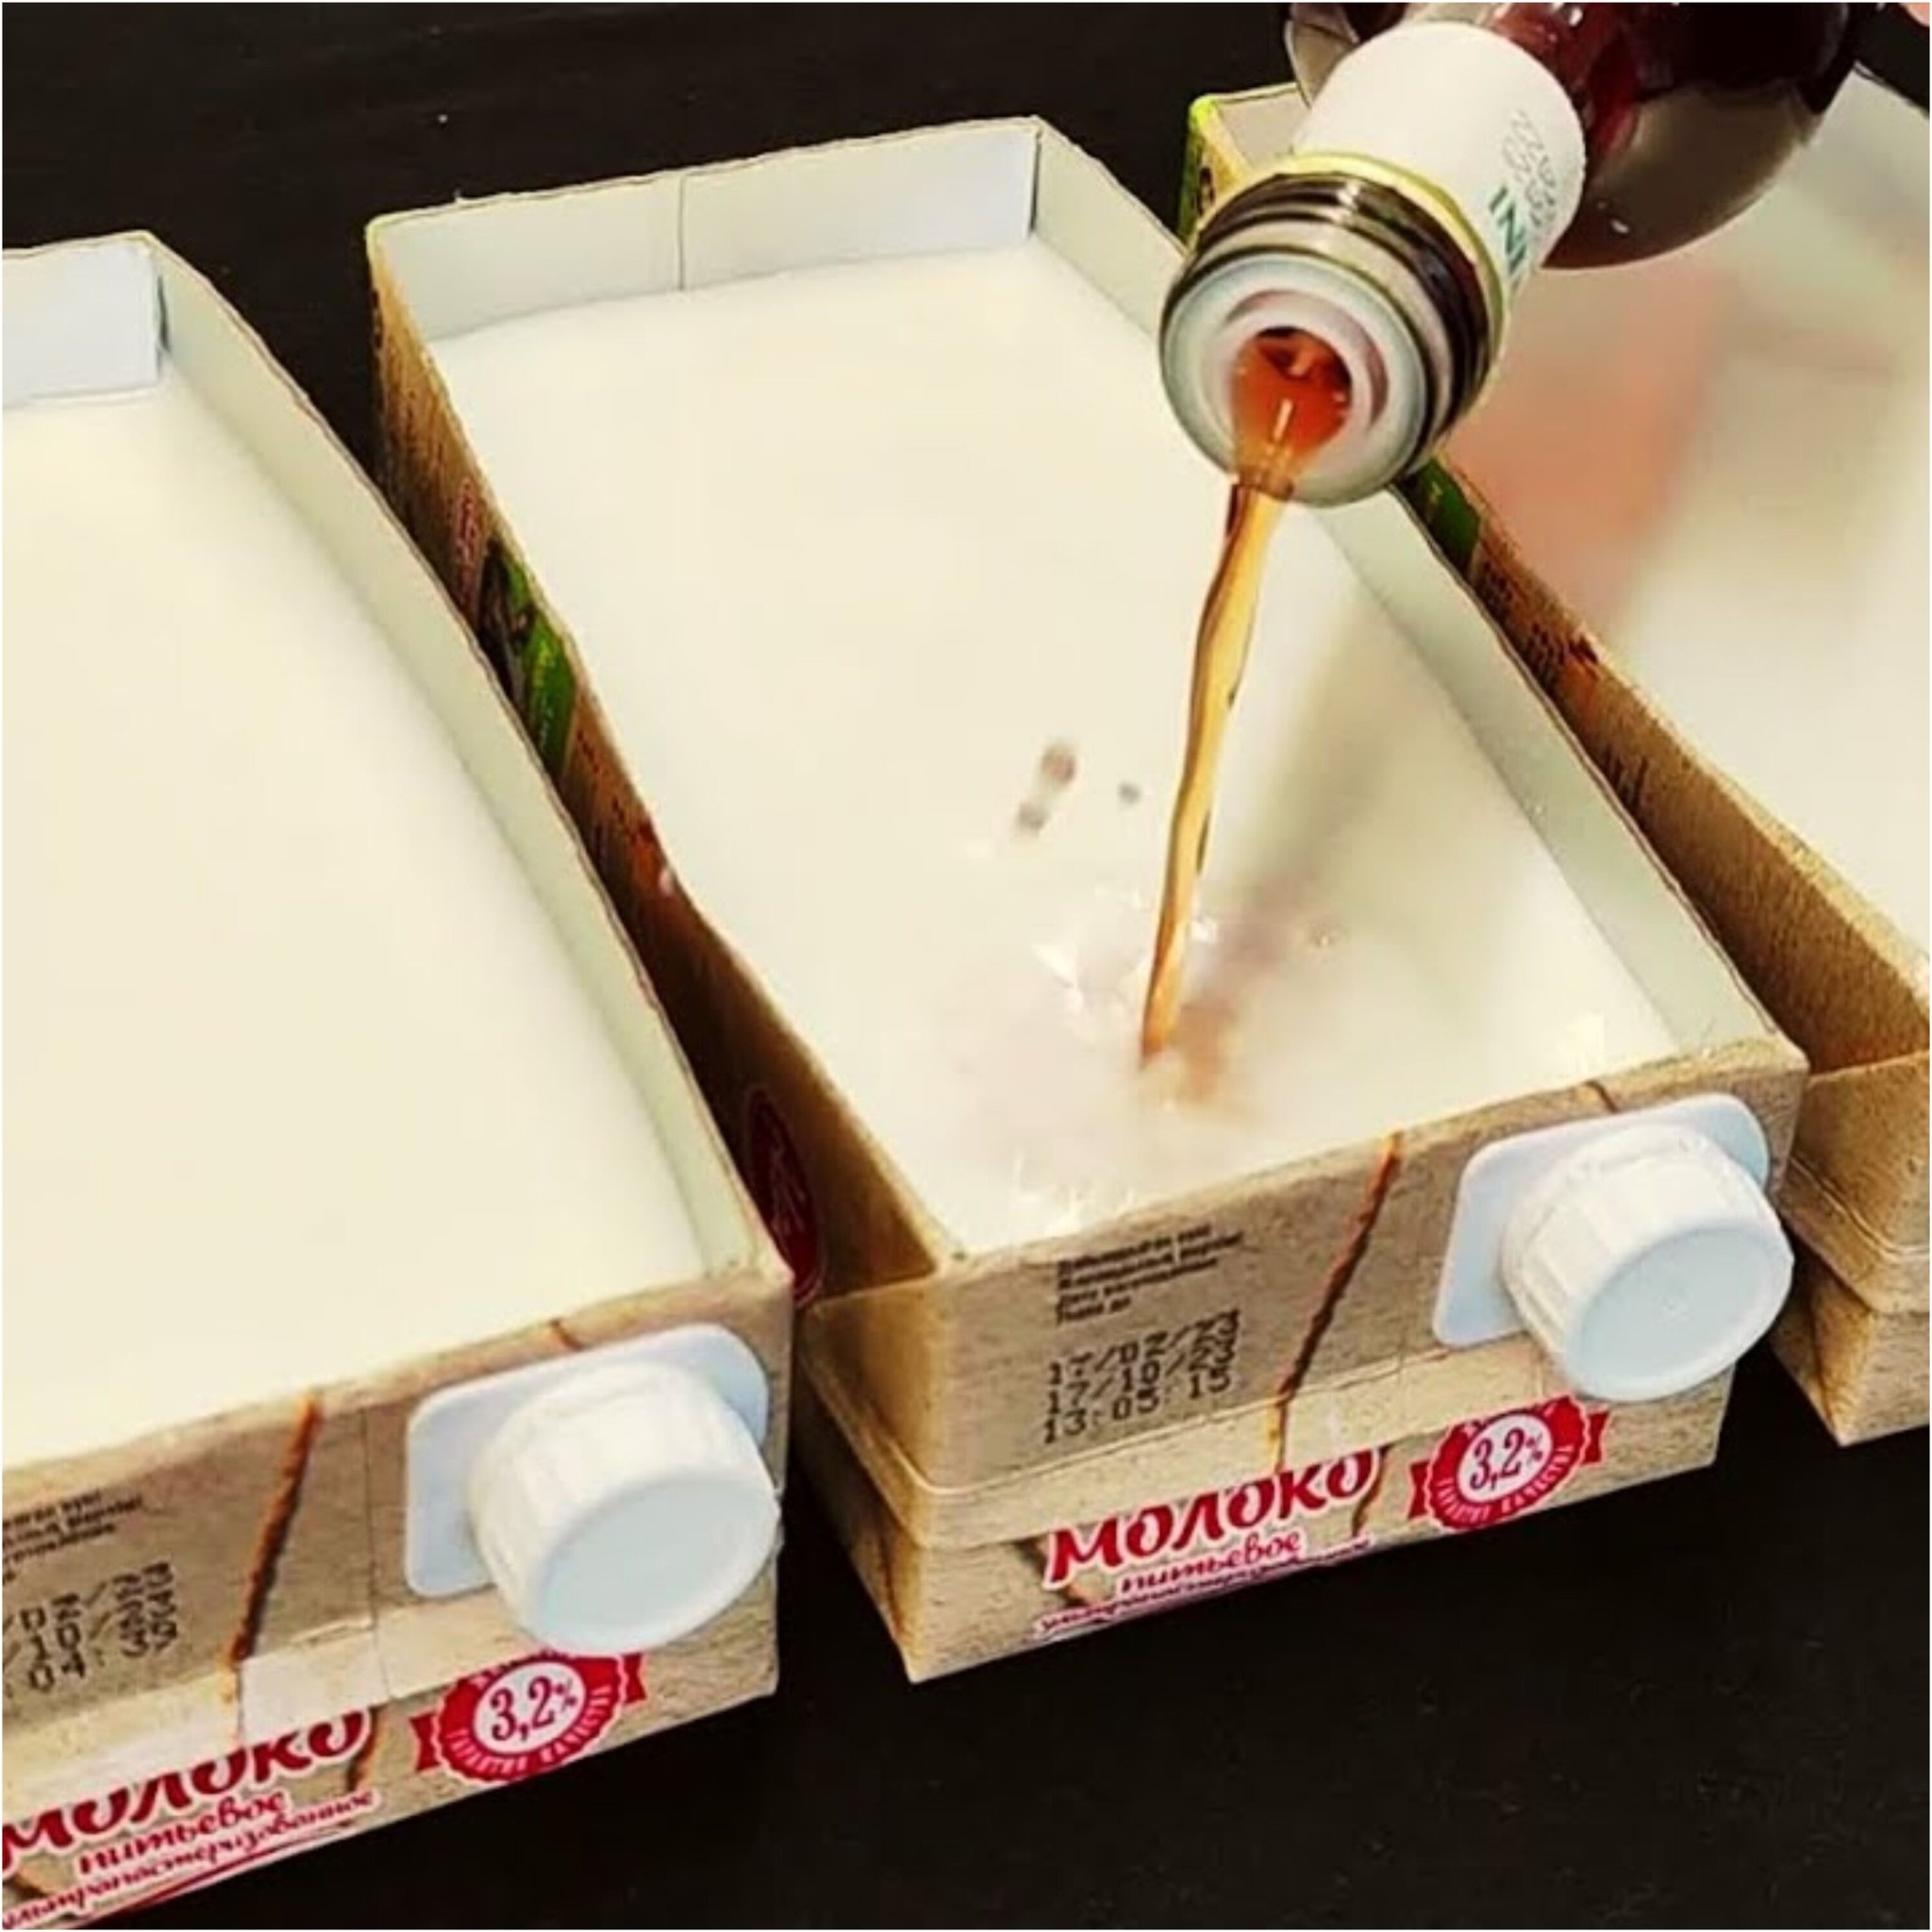
Ensure the milk is not ultra-pasteurized, as this type can affect the cheese-making process.
2. Heat the Milk
Pour the milk into a large pot and slowly heat it on the stove. You want to bring the milk to just before boiling, around 190°F (88°C). It’s important to heat the milk gently to avoid burning. Stir occasionally to ensure even heating.
3. Add the Vinegar
Once the milk is hot, remove the pot from the heat and gently stir in the vinegar. The acidity of the vinegar will cause the milk to curdle. Let this mixture sit for a couple of minutes as the curds (solid) and whey (liquid) separate.
4. Strain the Curds
Line a colander with a clean cheesecloth or a fine linen towel and place it over a bowl. Pour the curdled milk through the lined colander to catch the curds. The liquid whey can be saved for other recipes, like smoothies or baking.
5. Press and Season
Once you’ve strained out the whey, you can press the curds gently to remove any excess liquid. At this point, you can add a pinch of salt or any other seasonings you like. Pressing for a longer period will result in a firmer cheese.
6. Enjoy Your Cheese!
Your homemade cheese is ready to eat immediately! It’s delicious spread on crackers, crumbled over salads, or simply enjoyed on its own.
Benefits of Homemade Cheese
Continue Reading in next page

