
Step-by-Step Instructions
Ready to whip up this creamy, savory delight? Follow these easy steps:
Step 1: Brown the Ground Beef
- In a large skillet or Dutch oven over medium heat, cook the ground beef until browned and crumbled. Drain any excess grease.
- Add the diced onion and sauté for 3–4 minutes, until softened. Stir in the minced garlic and cook for an additional 1 minute until fragrant.
Step 2: Cook the Pasta
- Add the bowtie pasta, beef broth, heavy cream, Italian seasoning, smoked paprika, salt, and pepper to the skillet. Stir to combine.
- Bring the mixture to a boil, then reduce the heat to medium-low and simmer for 8–10 minutes, stirring occasionally, until the pasta is al dente and the liquid has thickened into a creamy sauce.
Step 3: Add Cheese and Peas
- Stir in the grated Parmesan cheese until melted and smooth.
- If using frozen peas, add them during the last 2 minutes of cooking to heat through.
Step 4: Serve and Enjoy
Taste and adjust seasoning with additional salt, pepper, or red pepper flakes if desired. Garnish with fresh parsley and extra Parmesan cheese before serving. Enjoy the creamy, beefy goodness!
Why This Recipe Works So Well
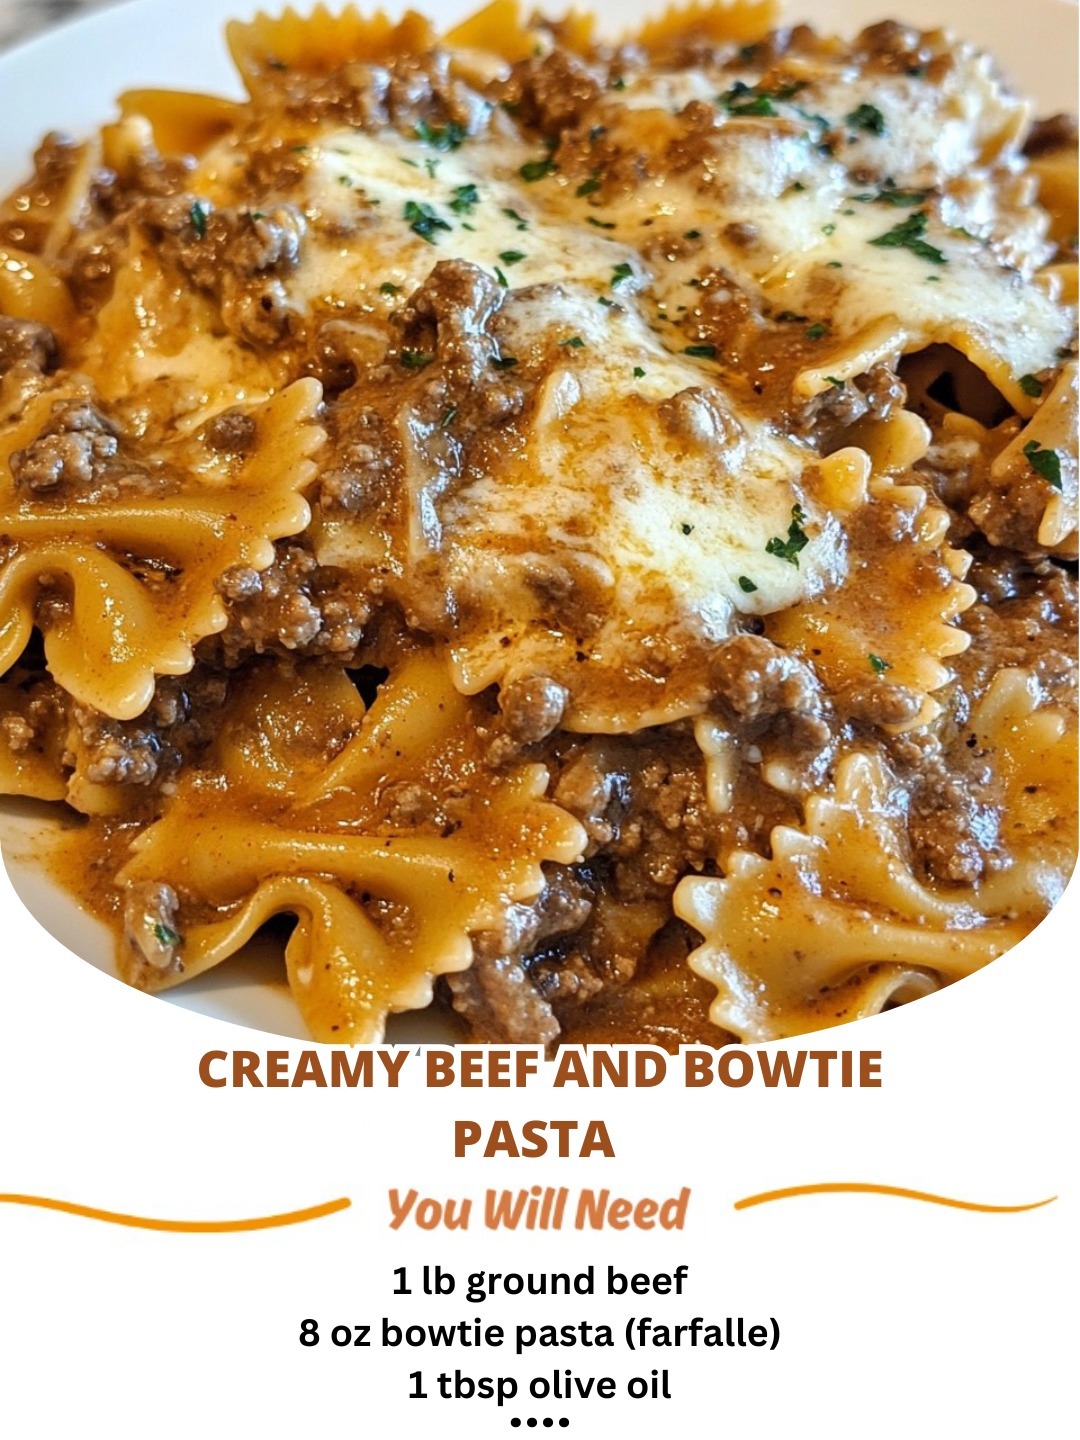
The magic of Creamy Beef and Bowtie Pasta lies in its balance of textures and flavors. The tender ground beef provides a hearty base, while the creamy sauce adds richness and indulgence. The bowtie pasta holds the sauce beautifully, ensuring every bite is packed with flavor. Together, these elements create a dish that’s as comforting as it is satisfying.
Variations to Try
While the classic version is divine, here are some creative ways to switch things up:
- Add Veggies : Stir in spinach, mushrooms, or roasted red peppers for extra nutrition and color.
- Spice It Up : Add red pepper flakes or a dash of hot sauce for a fiery kick.
- Gluten-Free Option : Use gluten-free pasta to make this recipe suitable for dietary restrictions.
- Cheesy Upgrade : Mix in mozzarella or fontina cheese for an extra gooey finish.
- Herb Infusion : Stir in fresh basil or thyme for an aromatic touch.
Tips for Success
- Don’t Overcook the Pasta : Check the pasta a minute or two before the recommended cooking time to avoid mushiness.
- Use Freshly Grated Cheese : Pre-shredded cheese often contains anti-caking agents that can affect the texture of the sauce. Freshly grated cheese melts more smoothly.
- Adjust Sauce Consistency : Add more beef broth or cream if the sauce becomes too thick.
- Save Leftovers : Store leftovers in an airtight container in the refrigerator for up to 3 days. Reheat gently on the stovetop, adding a splash of broth or cream to loosen the sauce if needed.
- Make Ahead : Prep the ingredients ahead of time and assemble just before cooking for stress-free weeknight dinners.
Serving Suggestions
This Creamy Beef and Bowtie Pasta is incredibly versatile and pairs well with a variety of sides. Here are some ideas to enhance your experience:
- Side Salad : Pair with a crisp green salad or cucumber-tomato salad for a refreshing contrast.
- Garlic Bread : Serve alongside warm garlic bread or dinner rolls for soaking up the creamy sauce.
- Steamed Vegetables : Add a side of steamed broccoli, green beans, or carrots for extra nutrition.
- Breakfast Hash : Repurpose leftovers into a skillet hash with eggs for a hearty breakfast.
- Party Favorite : Cut into small portions and serve as a handheld dish at gatherings or potlucks.
Final Thoughts
With its creamy texture, savory beef, and perfectly cooked pasta, Creamy Beef and Bowtie Pasta is a dish worth making again and again. Whether you’re craving a quick weeknight dinner, hosting a casual gathering, or looking for a crowd-pleasing meal, this recipe delivers big on taste and satisfaction.
So, the next time you’re in the mood for something hearty, cheesy, and utterly delicious, give this one-pot wonder a try. Trust us—it’s quick, easy, and absolutely divine!
Have you tried this recipe yet? Share your thoughts, tips, and variations in the comments below. Happy cooking! 🍝🥩✨
